Do you ever wonder what you’re doing wrong when putting makeup on your face? Yes, there are instructions written on the back or side of your foundation container, but this is especially true when you compare your face to that of others.
You have the impression that you are leaving something out. This is due to the fact that applying makeup is an ART that must be studied. If you do not follow the correct order, your face will appear “weirdly different or inappropriate.”
We understand that the first thing that comes to mind is, “Is there a proper technique to apply facial makeup?” There is, of course. That is why we call it an art that must be learned or studied in the proper order. The next question should be, “In what sequence should complete makeup be applied?” That is exactly what we will be discussing here.
Once you are able to master the right order of applying your face makeup, you are good to go. You can now apply makeup easily and confidently without having to peek in the mirror a million times to question your ability.
Following the precise order of face makeup, on the other hand, might be a bit challenging. This is mostly due to differing opinions on which beauty products should be placed first and which should be placed last.
As we said earlier, if you fail to follow the correct order, the outcome of your face may be “interestingly funny.” Well, not to worry, the reason this guide was written is to assist you on how to apply face makeup in the correct order.

What You Need Before Applying Your Face Makeup?
Face makeup may be compared to the building of a home. People really study for several years before getting qualified to assist individuals or groups of people in erecting structures of their choice. Jumping a step or mixing up the routine can be detrimental.
The same is true for facial makeup. Several people remark that it takes a long time to do their makeup; cleansing and reapplying after making mistakes along the process. Trust us, all of this will come to an end today because we are going to show you how to apply face makeup and appear like a queen step by step in the exact sequence.
First, we must understand everything we need to apply face makeup. When you have everything you need in one area and close to hand, the process becomes easier and time-saving. Before you apply your face makeup, make sure you have the following items on hand.
Skin Preparation Kit
This is the first set of cosmetic items you should have in your beauty kit. The beginning is just as crucial as the end since it affects the overall outcome of the entire face makeup operation. Luminizing eye cream, a nice lip balm, and moisturizer are typical components of a skin preparation kit.
Primer
The primer can also be considered a component of the skin preparation kit. We added it in a special manner since it serves a certain purpose. It serves as a foundation for applying makeup. It aids in the retention of your makeup. As a result, it is an essential aspect of your makeup process.
Concealer and Foundation
Here’s another must-have item on the list that you can’t live without. To make everything perfect and flawless, it is important to have a liquid or powder foundation paired with a quality concealer to camouflage the flawed areas and make it all beautiful. We provide excellent advice and training so that you may learn about the ideal concealer for your skin.
Mascara & Eyeliner
You should be familiar with these two things. They are essential makeup elements, especially for the eyes. Using the proper colors will make your eyes stand out and be well-defined.
Eyebrow Pencil
Aside from mascara and eyeliner, another product designed exclusively for the brow is the brow pencil. It aids in the grooming of the brows.
Red & Nude Lipstick
Even those who are unfamiliar with the basics of makeup application will recognize the significance of red and nude lipstick. Your makeup isn’t complete unless you have these irreplaceable lipstick shades. We strongly advise against using them on a daily basis.
Brushes & Sponge
What will you use to do your makeup if you don’t have the correct brushes and sponge? Please contact us so that we may propose the best kind for you. Although it is possible to understand the exact order in which face makeup is done, employing the wrong type of brush may result in a different outcome.
Blush & Highlighter
We also have items that deal directly with your skin, such as boosting the color and effectively blending it. The ideal option is to match a powder or cream blush with a highlighter or bronzer.
Eye Shadow Palette
We’re still not through with eye makeup; we have the eye shadow pallet. This one allows you to easily create a variety of looks. Trust us and we’ll tell you which varieties are suitable for your skin tone.
Makeup Wipes
This is useful when you are unable to wash your face. It’s an excellent option for wiping your makeup off during application or at the end of the day.
Above are the different essential makeup items that must be included in your makeup kit. Once we are able to understand the different functions of each, we can go ahead with how to apply makeup step by step.
How to Apply Makeup Step By Step
Before we begin discussing the proper step-by-step sequence in which face makeup should be properly done, we’d like to show you a picture of the desired end.
Anything less than that level of quality is acceptable to us. As a result, we will implore you to pay great attention to the many procedures in order to achieve maximum mastery. Without further ado, let’s get started.
Step One: Full Facial Cleansing
You can get away with applying makeup to a dirty face. The cleaning procedure is just as vital as the application procedure. It is not very complex. Remove any dirt from your skin. We recommend that you repeat it twice before moving on to the next step. The first cleaning will help you remove impurities from the surface of your skin, while the second and final cleaning will deal with your skin pores directly.
Step Two: Toning
If you know you’re not going to tone, don’t clean your face at all since it will negate whatever cleansing you’ve done. Failure to tone your face is equivalent to failing to cleanse it at all. The reason for this is because toning demonstrates that you have cleaned thoroughly. It ensures that all filth is removed from your skin.
Step Three: Apply Your Spot Cream
This stage is truly dependent on a few conditions. It is not for everyone, but if you want to go forward with it, go ahead. This is only a stage in the skincare procedure while trying to apply face makeup on a beautiful day.
Assuming you normally apply a spot cream to your acne or scars as part of your skincare regimen, it is advisable to apply the spot cream next before the entire makeover adventure. It is only reasonable to apply the topical cream or ointment so that it may settle and absorb into the skin and provide the benefits.
Step Four: Apply Serum
Still on skincare, this is the first step before doing facial makeup. Skincare is necessary before applying makeup on your face, and serum is an important part of that. As we all know, the general rule for applying makeup is that lighter products go on first to ensure that the makeup is as effective as intended. Serum is a powerful skincare product that will help you fight your skin’s enemies.
Step Five: Apply Primer
Your skincare routine is finally complete, and you’re wondering what comes next- PRIMER. Even though this step is optional, you can choose to do it or not. We recommend that you do not neglect this step if you want your skin to shine and seem more radiant and hydrated. We have two types of primer for various skin types. We have primers with oil-reducing properties that are ideal for those with oily skin. Other primers were created specifically to improve the appearance of your skin and make it appear brighter.
Step Six: Apply Your Eye Makeup Products
If you were shocked at the fact that the application of eye cream comes next, then you have been getting it wrong all this while. Little wonder, your makeup always ends up messy or tardy because your eye cream came in last after you applied foundation. Now you know better!
- Eye shadow comes first
- The eyeliner comes right after
- Then mascara and
- Eyebrows

To be honest, there is no rule that says your eye makeup must be applied first. Certainly not! Nonetheless, based on years of face makeup knowledge, it is important to recognize that there is a practical and rational purpose for doing your eye makeup and brows before your complexion products.
This way, you can cope with the few drips down your eye without destroying your entire makeover while trying to correct your eye makeup. Our training programs are explicit enough with every area well-treated and practicalised till you gain mastery completely. It is important to note that there is always room for mistakes, but with time, practice and experience equals excellence.
Step Seven: Foundation Comes Next
This has to be the most popular feature of facial makeup because that is where the majority of people’s attention is drawn. You had no idea that was merely a portion of the method, and not even the most important part. That’s why it’s the seventh installment. Don’t rush while applying your foundation, whether liquid or powder. Ensure that all other procedures before this one are well-attended to, and you will witness a perfect result that differs from what you have been seeing around.

After successfully completing your skincare routine and eye makeup, the foundation comes in next. Work on your foundation, mixing it from every angle to fit your skin tone. That is the key of this step: making sure that every part of the face is well-blended and appropriately covered. When applying foundation, two things are very important: coverage and finish. This is actually how you can differentiate between a well-informed face makeup professional from a low-level makeup artist.
Step Eight: Apply Concealer
The foundation and concealer complement each other. In reality, these two are intended to be written under the same subheading. However, for the sake of clarity, we divided them into two distinct processes. Also, because the concealer should be applied after the foundation. As the name says, concealer is intended to hide areas that the foundation could not cover during the application procedure.
In other words, some professional makeup artists do not believe in using concealer because they feel that foundation can layer and cover every element on the face without the need of concealer. Nonetheless, we propose this procedure to our readers and students in order to ensure a great touch-up.
Concealer is typically used to hide regions around the eyes, places that are readily impacted and cause inflammation, and so on. Ensure you evaluate your entire face after applying your foundation to check areas that need additional coverage. Once you can locate those areas, dab them with a brush and carefully blend appropriately.
Step Nine: Apply Face Powder
You will be wondering why this step again? Yes, we told you at the start of the book that this would be different from what you’ve been doing all along. We’ve come to study great face makeup techniques from the “kind” high-class models. The purpose of face powder is to guarantee that your face makeup is correctly applied to your face. That’s all there is to it! This is the missing connection that many people have no idea of. Your makeup is properly put up with a dab of face powder. While you’re doing it, be sure to check and touch the areas around the chin, eyes, and t-zones.
Step Ten: Apply the Bronzer
The bronzer should be applied first, followed by the blush. This material was designed to explain the proper sequence in which face makeup should be applied. Since then, we believe we’ve done a terrific job. When used, the bronzer creates the appearance of a sun-kissed glow. It is frequently compared to a contour because it has a similar effect- RAVISHING!
Bronzer is often available in a variety of forms including as gels, creams, powders, and liquids. Feel free to go with anybody you choose. We do, nonetheless, recommend that you apply the bronzer powder to achieve precise and smooth contours.
Step Eleven: What comes next- Blush
Now you can apply your blush and add a touch of colors to your cheek. This should be a simple task. A powder or cream blush should do the work, complimenting the bronzer’s appearance. Do you realize that everything is almost ready? Just a few more steps and we’ll have the desired look.

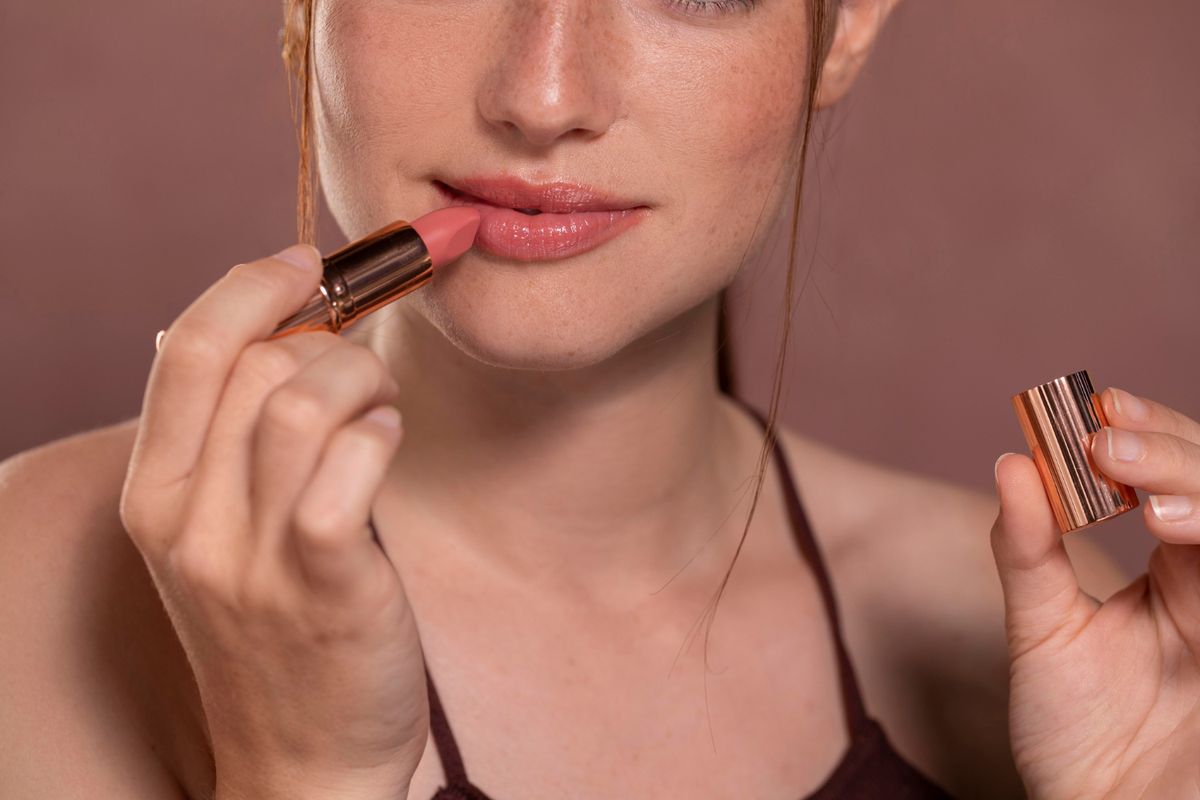
Step Twelve: Work on the Lips
Because the lips are the simplest to reapply after a long day of exposure, they come in straight after the eyes, cheeks, and every other feature on the face. If you are applying gloss, it is advisable to wait right after you must have applied the powder and setting spray. On the other hand, anything of color such as lipstick should come in last to provide a more solid experience. You will undoubtedly select a color that suits the rest of your face.
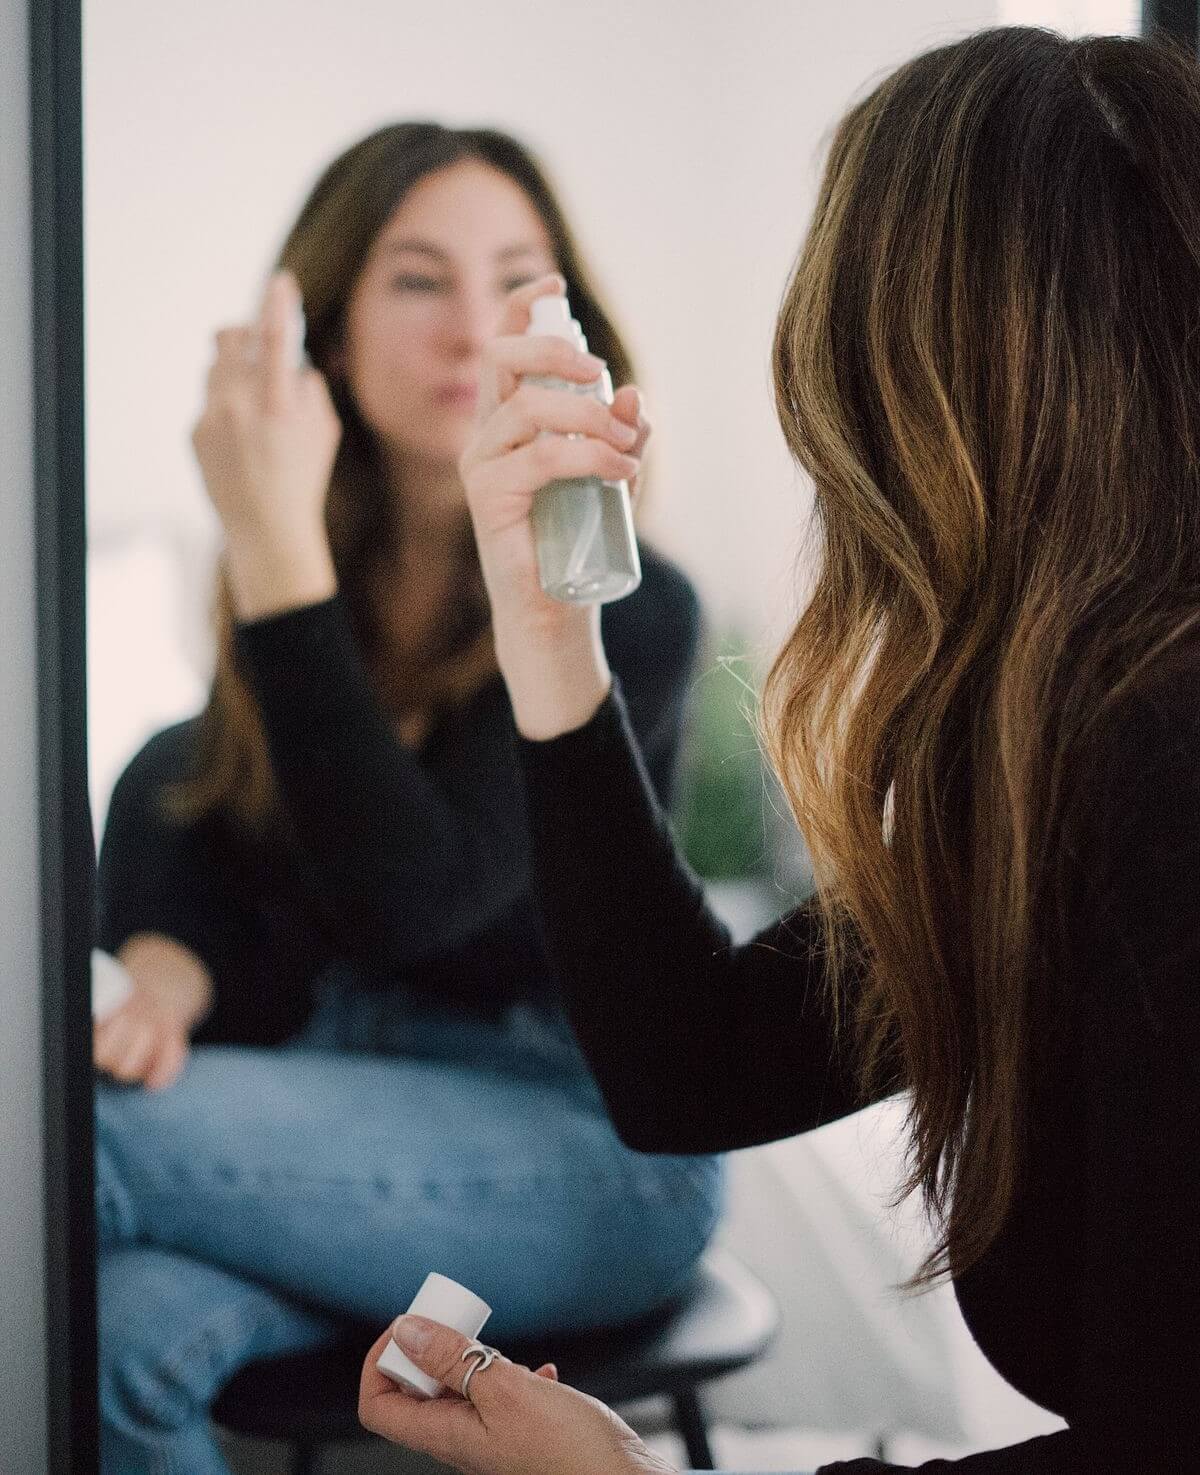
Step Thirteen: Final Application- Translucent Powder or Setting Spray
We’re almost finished! Just a few finishing touches to guarantee that your makeup lasts as long as possible on your face without any difficulties or disappointments. This task may be performed with either translucent powder or setting spray. It is critical that you use one of these two products before venturing out into the sun. For this final phase, we highly recommend the translucent powder formula.
How to Apply Makeup
When it comes to makeup application, half of the fun is in trying out different looks and different products, practicing techniques, and seeing what works for you and your skin. And, while there are no hard and fast rules for applying makeup, following this simple process will ensure a flawless professional finish.
It’s time to get your skin ready for cosmetics. It truly makes a difference if your skin is properly primed for a beautiful makeup application. Wash your face with your favorite cleanser and a warm flannel to remove any oil and debris from your skin, as well as any remnants of old makeup, such as stubborn mascara or eyeliner.
Now that your skin has been thoroughly washed, you may apply moisturizer. Moisturizer is like a delicious drink of water for your skin, immediately brightening, plumping, and making it more luminous. You may want to use a face serum, facial oil, or face spray depending on your skin type. Whatever formulation you choose, make sure you don’t skip this step to finish your makeup preparation. Find the best face moisturizer for your skin type.
After your moisturizer has had time to digest into your skin, it’s time to prime your face with a makeup primer. Primer is an excellent foundation base that guarantees your base makeup applies smoothly and lasts longer. Primer fills in any uneven texture, fine wrinkles, and pores, resulting in a smooth canvas for makeup.

You surely didn’t expect us to instruct you to put on your makeup first, did you? This is a helpful hint! When you apply eyeshadow, eyeliner, or mascara, it might transfer into your base makeup, leaving smudges and flaws in your carefully placed foundation.
After you’ve completed your eye makeup, return to your base and apply some foundation. Check that the foundation you’re applying matches your skin tone.
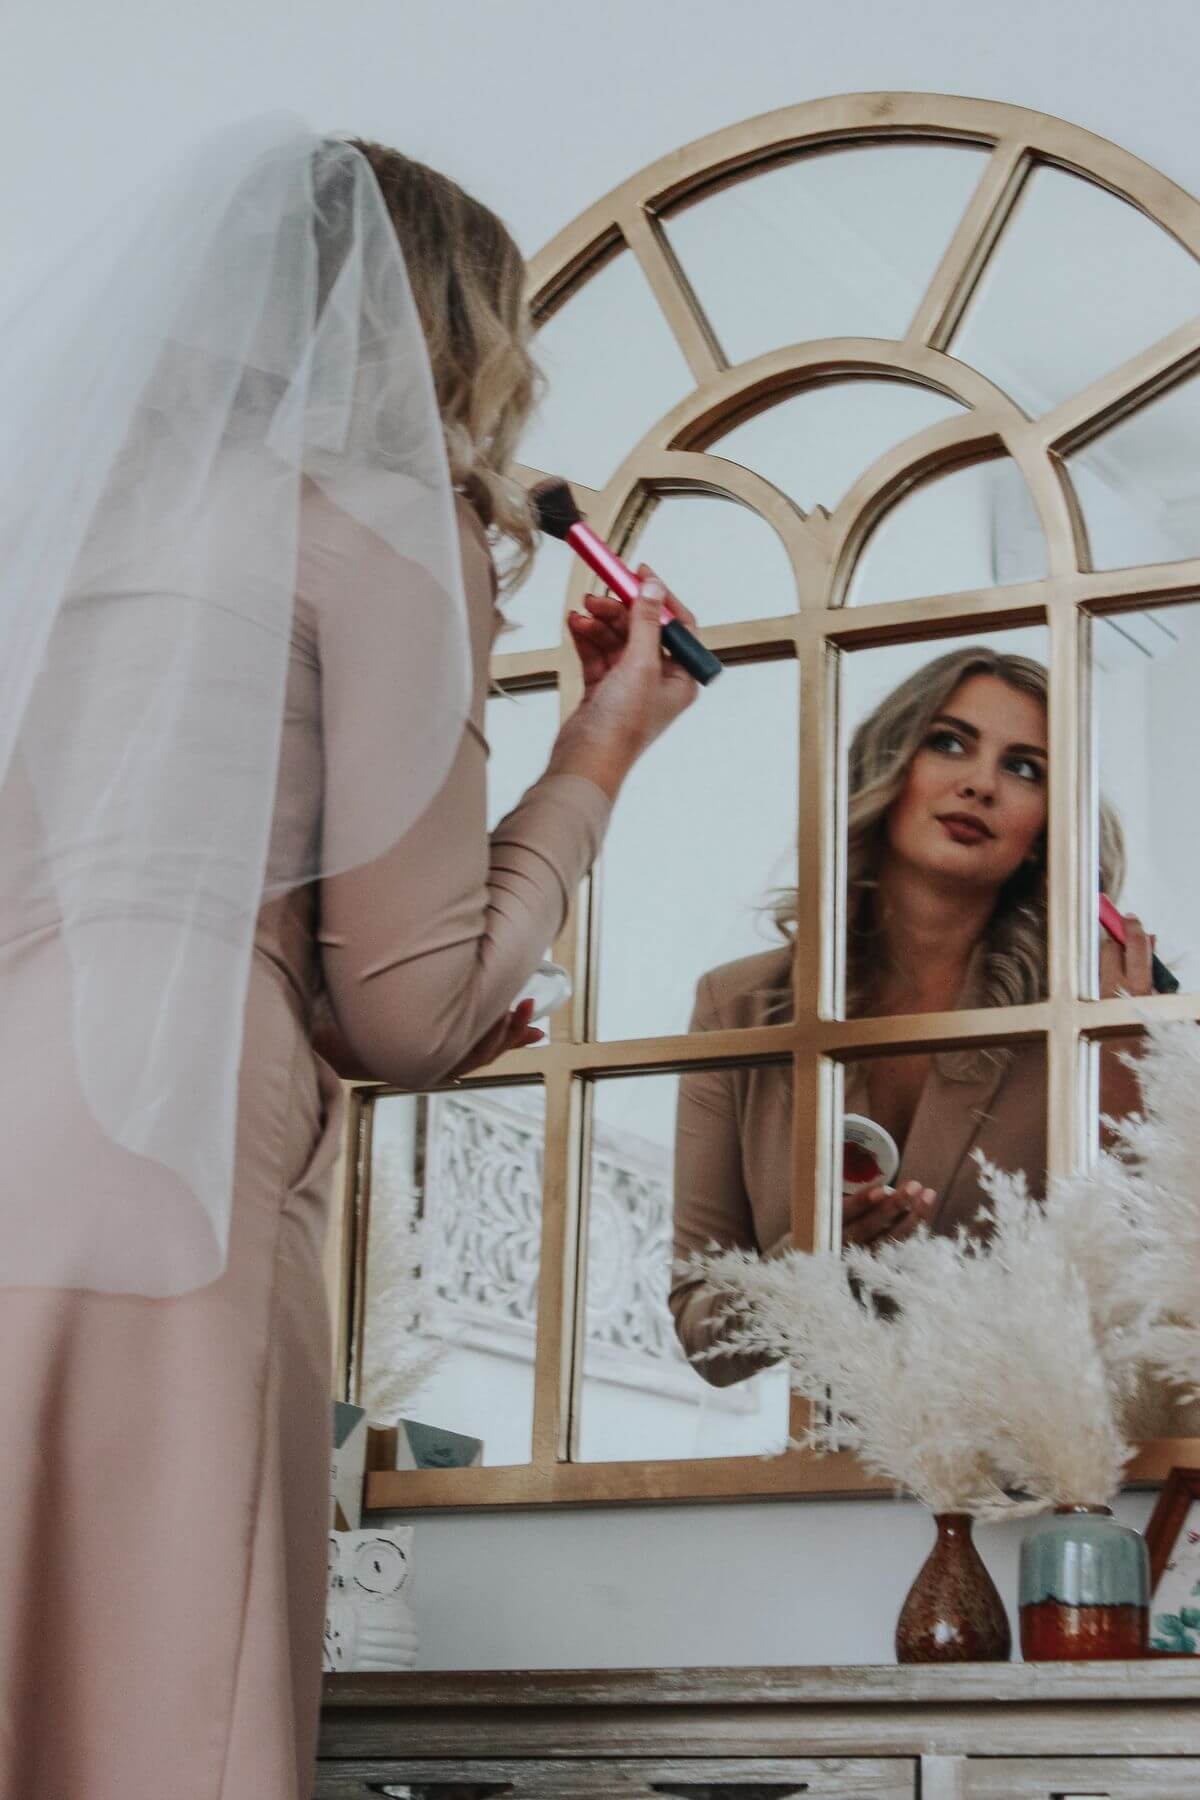
Guide to Doing Your Own Wedding Makeup
If the notion of a whole hair and make-up crew hovering about you as you wait for the best/worst day of your life is enough to send you over the edge, doing your own wedding makeup might be the answer.
What are the advantages? Get rid of the entourage and embrace a more relaxed behind-the-scenes ambiance where you may take charge of creating a make-up look that suits you.
What about the disadvantages? It’s easy to get the whole thing mixed up. And, because those wedding photos will stay forever (no pressure), you’ll want to look your best, which involves applying good make-up.

However, consider your own style and the appearance you want to attain on a daily basis. On the big day, you should still be yourself, but you should ramp it up because it’s a special occasion and there will be a lot of photographs taken.
You don’t have to buy all new make-up for your wedding; in fact, using what you already have or practicing a few times with new make-up can be a much better way to feel confident and familiar with the look you’re achieving,’ says Hannah Martin, a professional make-up artist, and bridal makeup expert. ‘If you’re comfortable with your current make-up, why not invest in a new set of brushes to give your make-up a more professional finish?’
Avoid using black shadows or anything else that may appear overly heavy in pictures. Consider your wedding venue as well; a more natural make-up look may fit a beach wedding better. Work on brightening and opening up your eyes, contouring your face with highlighters, and opting for rose or nude lips. ‘Pairing a smokey eye with a bare lip might seem old-fashioned and wash you out; instead, opt for a lipstick with a blue-toned pink to enhance the entire look,’ Martin suggests.
Especially for brides who don’t often wear much make-up. This is the most effective method for determining what you want and avoiding stress on the big day. ‘There’s so much going on the actual day that it’s easy to lose track of time, get distracted, and wind up applying that liquid liner you haven’t used in years,’ Martin advises.
The best way to avoid getting flustered is to take your time. If you’re applying your own makeup, practice the look a few times before the big day.
Classic Makeup Looks For Your Wedding Day
The Cat Eye
To this day, the cat eye is one of the most iconic eyeliner methods, which many MUAs and influencers have copied and updated with their unique approaches. The cat eye, often known as winged eyeliner, is a gorgeous eyeliner design that can be used for any occasion, whether dressed up or down! From the early Egyptians to Marilyn Monroe, winged eyeliner has been a seductive style for decades. By extending the eyeliner past the corner of the eye, you may define the eye while also emphasizing its features.
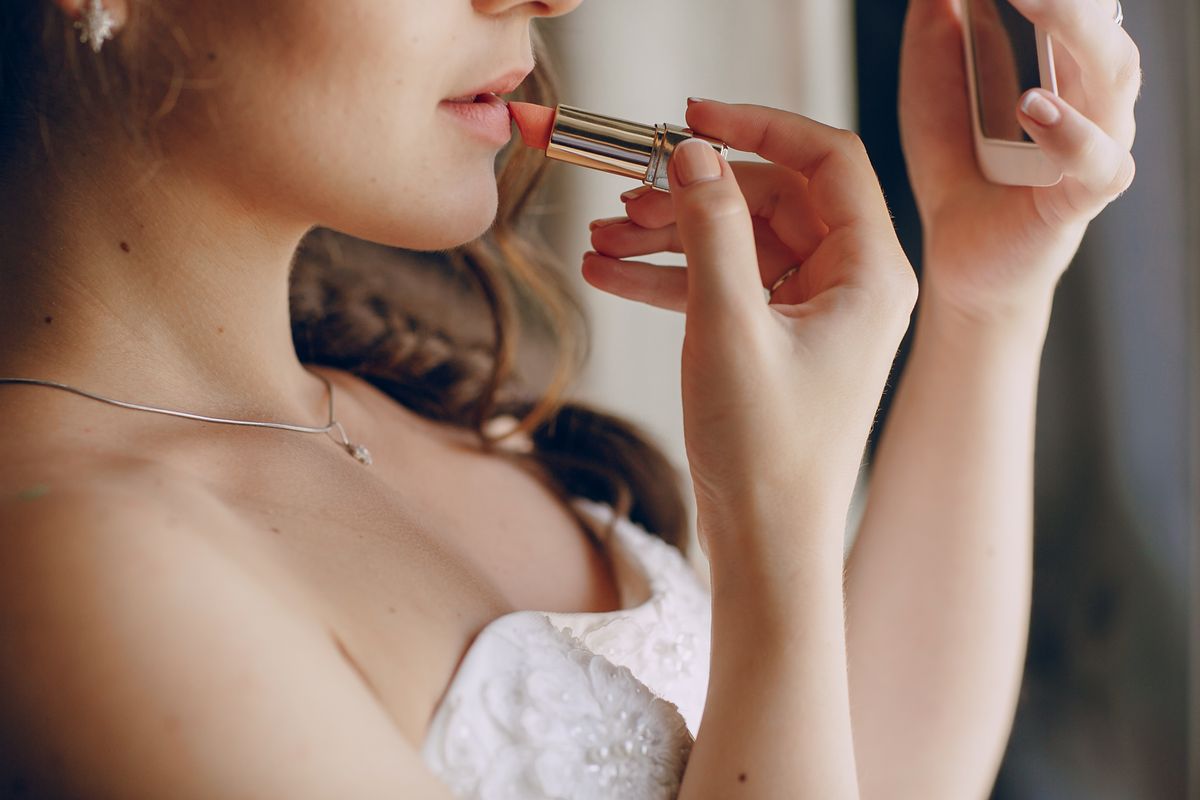
The Red Lip
You can never go wrong with a red lip look if you want to make a dramatic statement! Whether you want a natural appearance or a full face, the traditional red lip will complement it. Taylor Swift is one of the few celebrities who have made this her signature style, and it appears to work every time! This bright, red lip look truly accentuates the facial features.
The Smokey Eye
The typical smoky eye is one of the most dramatic makeup trends. Using dark colors like as black, brown, and grey, apply these darker shades across the lids while placing a lighter shade on the corner of the eye and the lid. To get a more dramatic effect, use the deeper shade behind the eye as well to add definition. The classic smoky eye is the perfect look for a night out with the girls!
The White Tightline
Along with the cat eye and the smoky eye, there is a makeup trend that has been around for a while. Applying white eyeliner under the eyes is classic looks that will make your eye color stand out every time! Over the last several years, the white Tightline has become a social media fad, with many aspiring makeup artists wearing it.
The No-Makeup Look
As some of you may be aware, there are days when many of us just do not have the time to do full-face makeup. If this has ever been you, you should absolutely attempt a natural makeup look! Maintaining a natural-looking makeup look can definitely highlight your natural beauty. Anyone can pull off this look with a little foundation and a basic brow. Instead of using eye shadow, a basic brow and a little mascara can bring out your natural features.
Final Words
To be honest, several makeup artists develop different techniques for applying makeup. Some ways have shown to be successful, while others have proven to be a disaster. In our view, it is advisable to go with a process that has been tested and proven to be effective by expert makeup artists.
It is important to note that the actions outlined in this text are subject to change in the near future. The most critical procedures, though, remain the same: always begin with washing and a thorough skincare routine, focus on your eyes before adding foundation and concealer, and finish with your lips.